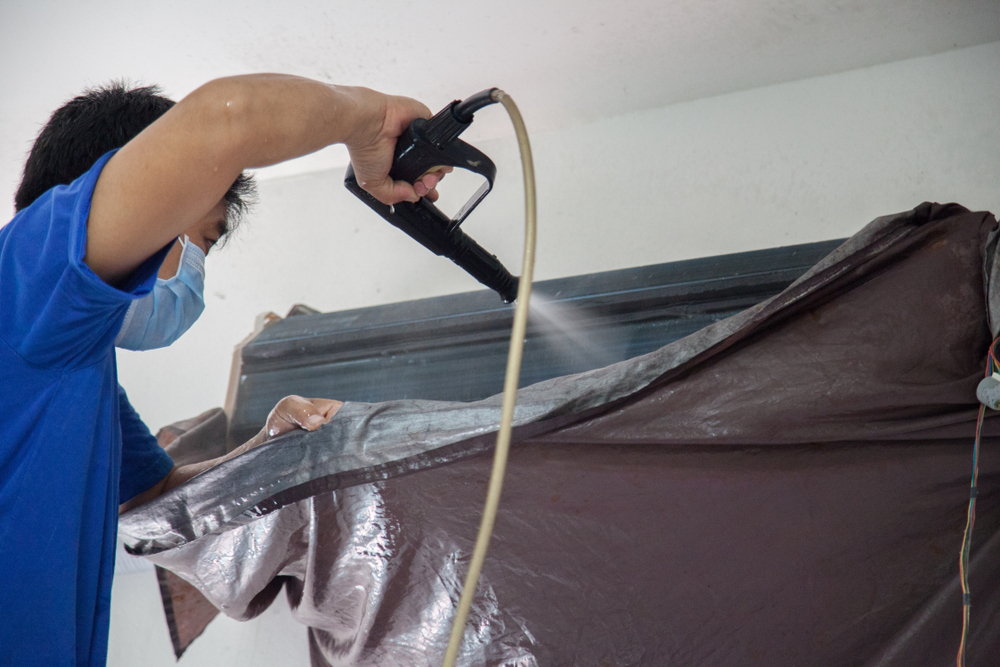
Cleaning your air ducts is an important task that should not be overlooked. It will help keep your home healthy and smelling fresh. It will also improve the air quality in your home. In this guide, we will walk you through how to clean air ducts yourself. We will provide tips on how to choose the right tools and materials and how to get started with the cleaning process.
Why Should I Clean My Air Ducts?
There are several reasons why you should clean your air ducts regularly. As we mentioned before, the most important reason is your health. Dust and other allergens can cause severe respiratory problems, especially for those who suffer from asthma or allergies. In addition to improving your health, cleaning your air ducts can also improve the efficiency of your heating and cooling system. It means that you will save money on your energy bills! If your system is not running as efficiently as possible, it has to work harder to maintain the same comfort level in your home. It uses more energy and ultimately costs you more money. You can contact professionals near you.
How Often Should I Clean My Air Ducts?
The frequency with which you should clean your air ducts depends on a few factors, including the type of heating and cooling system you have, the number of people in your household, the presence of pets, and whether anyone in your home suffers from allergies or asthma. Generally speaking, it is good to have your air ducts cleaned every two to three years.
Tools and Materials Needed for Air Duct Cleaning
To clean your air ducts yourself, you will need the following tools and materials:
- Vacuum with hose attachment
- Soft brush attachment for vacuum (optional)
- Lint roller
- Rags or old towels
- Air freshener (optional)
Step By Step Guide of Air Duct Cleaning
Step One: Turn Off Your HVAC System
The first step in cleaning air ducts yourself is to turn off your HVAC system. You do not want to risk inhaling any dust or debris that you might kick up while cleaning.
Step Two: Vacuum the Vents
Once your HVAC system is turned off, you can start vacuuming the vents. It will help remove any large pieces of dirt or debris clogging up the air ducts. Be sure to use a vacuum attached so that you do not damage the vents themselves.
Step Three: Disinfect the Air Ducts
After you have vacuumed the vents, it is time to disinfect them. You can either bleach and water solution or purchase a commercial air duct disinfectant. Be sure to follow the instructions on properly mixing and applying the solution.
Step Four: Clean the Blower Fan
The blower fan is what circulates the air through the air ducts. It is essential to clean this so that it does not spread any dirt or debris back into the air. You can use a vacuum attachment to remove any dirt and debris from the fan’s blades.
Step Five: Reassemble Everything and Turn on Your HVAC System
Once you have finished cleaning all of the parts of your HVAC system, it is time to put everything back together and turn it on. Start by reattaching any removable parts of the ductwork. Then, turn on your HVAC system and check to ensure that everything is running smoothly.
Conclusion
Cleaning your air ducts is an important part of maintaining a healthy home. It will help keep the air in your home clean and free of allergens. It can improve the efficiency of your HVAC system. We have got you covered if you are unsure how to clean your air ducts. Still, if you have any questions or help, please contact our indoor air quality professional.


